Monday, April 30, 2012

Chicken Parmesan Wonton Bites

Lately, it looks as though on Pinterest there have been an immense amount of recipes including wonton wrappers.  I've never used them before so I figured why not give them a try?  (This of course after I put them on my grocery list for over two months without being able to find them. Did you know they live in the produce area?)

Anywho, last night for dinner I gave it my first try.  Here are my Chicken Parmesan Wonton Bites.


Ingredients:

Package of Wonton Wrappers
5 large chicken breasts (or shredded pre-cooked chicken)
2 C Marinara sauce
Spinach  (about 3 leaves per bite)
1 C Mozzarella cheese
Parmesan cheese
Ricotta cheese
1 tbsp Garlic powder
1 tsp Thyme
Salt + Pepper


Directions:

1. Pre-heat your oven to 400 degrees.

2. Start by cooking through your chicken.  You will eventually want the chicken to be in very small pieces so you can cut the chicken before or after, depends on how much you like to touch the raw chicken.  Season the chicken well at this point.  You want the chicken to be very flavorful so you can taste it when its mixed with the rest of the ingredients.  Also, add the garlic powder and thyme at this point.  (If you want to skip this part you can use left over chicken, or even buy a rotisserie chicken from the grocery store to save some time.)

3. In the same pan as the cooked chicken, (or in a separate bowl) add about half a bottle or about 2 cups of marinara sauce and about 1 cup of mozzarella cheese to the chicken and mix well.


4. At this point find some room on your counter and set up your wonton wrapping station.  You will want to start by laying some wrappers down.  Follow it with some spinach leaves, about a spoonful of chicken, a spoonful of ricotta cheese, and a half spoonful of parmesan cheese.


5. Fill up a small bowl with water and keep it around for easy access.  Once your wrapper is filled, paint the outside perimeter of the wrapper with the water and top the mixture with another wrapper.  You'll want to press the two wrappers together mushing down the filling so it's evenly spread out on the inside.  With some of the bites I tried to mush them down with a fork, but I didn't feel like it made much of a difference.  If you find a better way, let me know.


6. You'll need to but a wire rack on a baking sheet and then plop those babies right on the cookie sheet.  Spray them with a little Pam so they don't dry up and they turn golden brown and pop them in the over for about 12 minutes on until the sides start turning golden brown.

7.  They'll be pretty hot when then come out of the oven so make sure you let them sit, (unlike me who just took a giant bite and then had to spit it out on the counter 'cause it was so hot.  Luckily I was the only one home. =) and enjoy!

I served these with some marinara sauce to dip in and a side of garlic green beans.
Yummy yummy in my tummy!


Just a note to anyone that wants to try this recipe:  make sure you have some time; it took me about 45 mins all together to make.  The actual making of the bites is rather time consuming and I promise it will look much better if you take your time to mush them together properly.  Although, if you don't care what they look like, disregard!

Now... I need some work-out motivation... ugh.

Sunday, April 29, 2012

Fried (but actually baked) Chicken

Yay for the first recipe of the summer!  I'm so excited to start this journey with you guys. So, without further adieu.... here it goes!

I'm a horrible recipe follower.  I always look at recipes for ideas and then do whatever I want to change it to include/exclude things I don't like or think would make the recipes better.  Most of the time I really just wing it and it just works out!  This recipe was an inspiration from the May 2012 issue of the Rachael Ray magazine that featured a whole bunch of ways to make fried chicken.  None of them were quite perfect so I changed it up a bit.


Fried Chicken
Time: Prep:10min, Cook/Prepare: 1hr 15mins
Diffc: Medium

Ingredients:
2 packages of chicken drumsticks (10 total drumsticks)
1 container of buttermilk
1 cup of flower
1 cup parmesan cheese
2 tsp garlic powder
salt + pepper to taste

Directions:
1. Preheat the oven to 425*.

2. Dump the buttermilk into a bowl big enough to cover the drumsticks.  I placed the meaty side down so they stood up and were covered in the buttermilk.  Let them sit for about 30 minutes (or up to 12 hrs. You can do this part ahead of time until your ready to cook)

3. In a separate bowl mix the rest of the ingredients. Coat the chicken thoroughly in the mix and set on a greased broiling pan.  I just used pam. It'll still stick a little at the end of the cooking time but not nearly as bad.

4.  Once the oven is heated up just  pop the chicken into the oven for 45 mins.  Midway through you may want to flip the chicken so the oils from the chicken soak into the other side and coat the mixture.  If you don't do this you may have some of the flower mixture left of the outside of the chicken without any liquid.

And that's it! Pretty simple, and much healthier than if you would have actually fried it.  
I served it with some home-made mashed potatoes and some steamed veggies.

Enjoy and let me know how it goes!

Wednesday, April 25, 2012

Summer Recipe Adventure

Now that classes are getting out at the college I work at it seems to be getting rather slow.  As summer comes I always need to find new ways to keep busy here; that is how my quilting started, as well as this blog.  With that in mind, I decided I'm going to do a lot more cooking and baking and will add a new section to my blog with all the great recipes I come across and make during this summer. So exciting!

...on a similar topic, I've finally gotten pretty close to my college weight (which I'm pretty excited about!) and need to make sure I keep working out throughout this summer, especially if I'm going to be cooking that much more.  In case anyone cares, =), I started doing the Jillian Michaels workout about a month and a half ago. (30 Day Shred) followed by (Shredded in 30) and they are beyond fantastic.  It's super quick and it kicks your butt.  I know the girls at work keep hearing about it but I just can't help it.  I'm over 10lbs down since I started and it's very addicting. So, if anyone one of you will be following my recipes, you might consider starting some Jillian to go along with it.  ;-)

Monday, April 16, 2012

Pretty Minky Baby Gifts

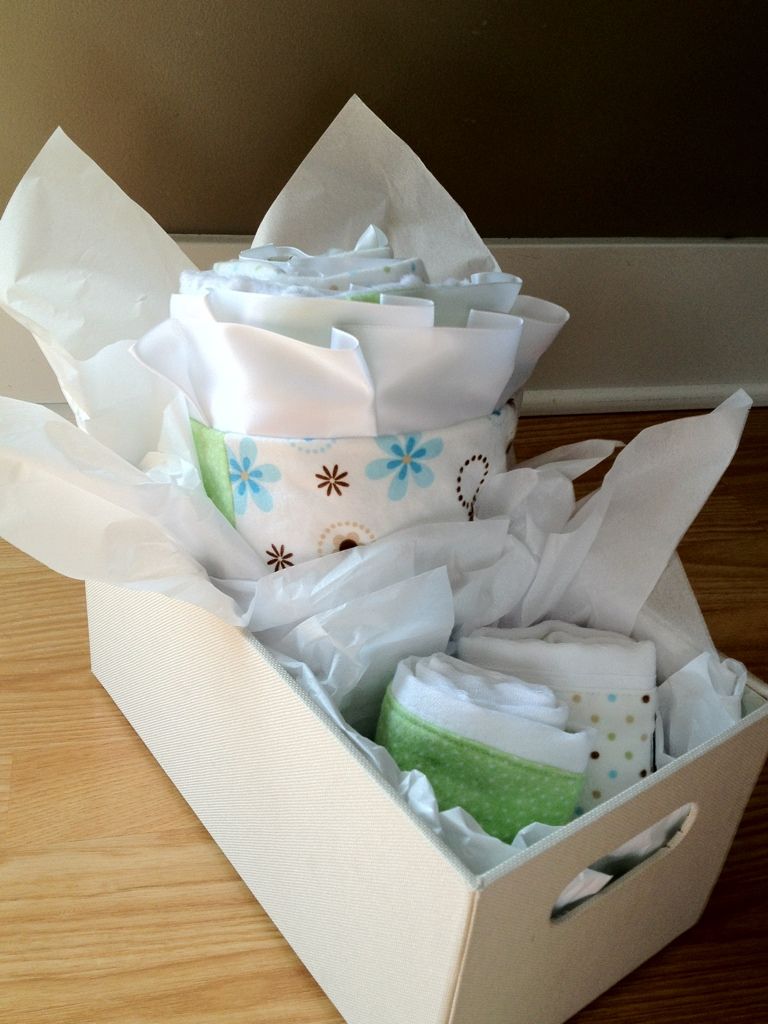
So I finally gave away my two sets of baby gifts.  Both pretty similar but the idea/color schemes was for one in particular.  Thankfully they were both for boys so it was pretty convenient for cutting and such to do them in the same fabrics.  I made a minky backed blanket with textured minky and flannel squares in the front.  Finally I finished it off with some white ribbon for the outsides. 


I also added two cute little matching burp rags which were made from cloth diapers.  Just cut a matching strip that runs the length of the diaper and sew around the edges.  It makes a rather large burp rag so you can fold it a millions times and it's still pretty big. 


I must say, I did turn out pretty nice.  
The best part...it was soooo soft to cuddle with.

[Fabrics from Joan's Fabrics, Fabric Diaper from Target, White Box from Target]


**** ....and just a  quick little second update with the second baby gift.  Much like the first but with an even cuter blue box!
So cute!!